This multi-part series on water jet pump maintenance is part of our continued dedication to helping our end users and website visitors repair and maintain their high-pressure intensifier pumps. Through these blogs and videos we will go over much of the on-going maintenance required to keep your water jet cutting system operating at high-performance for extended periods of time.
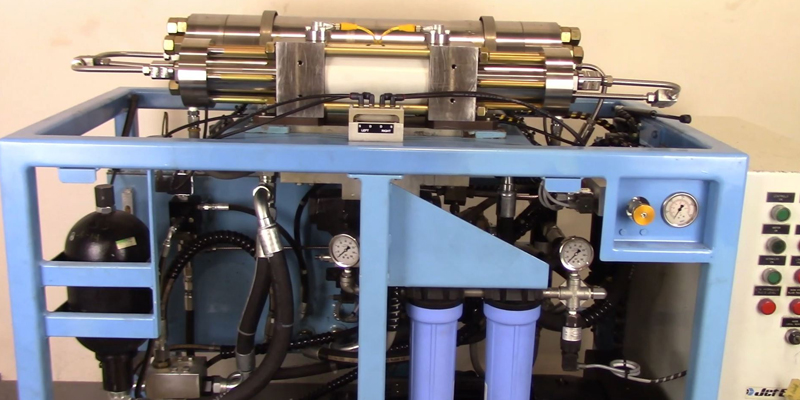
In part 3 of our water jet pump maintenance series, we’re going to go through a high-pressure seal repair for our Generation III water jet intensifier pump.
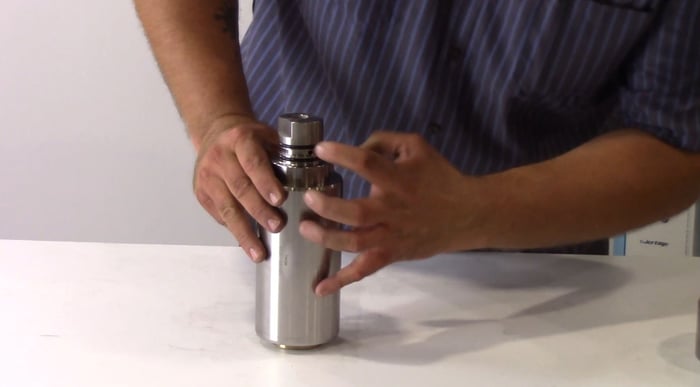
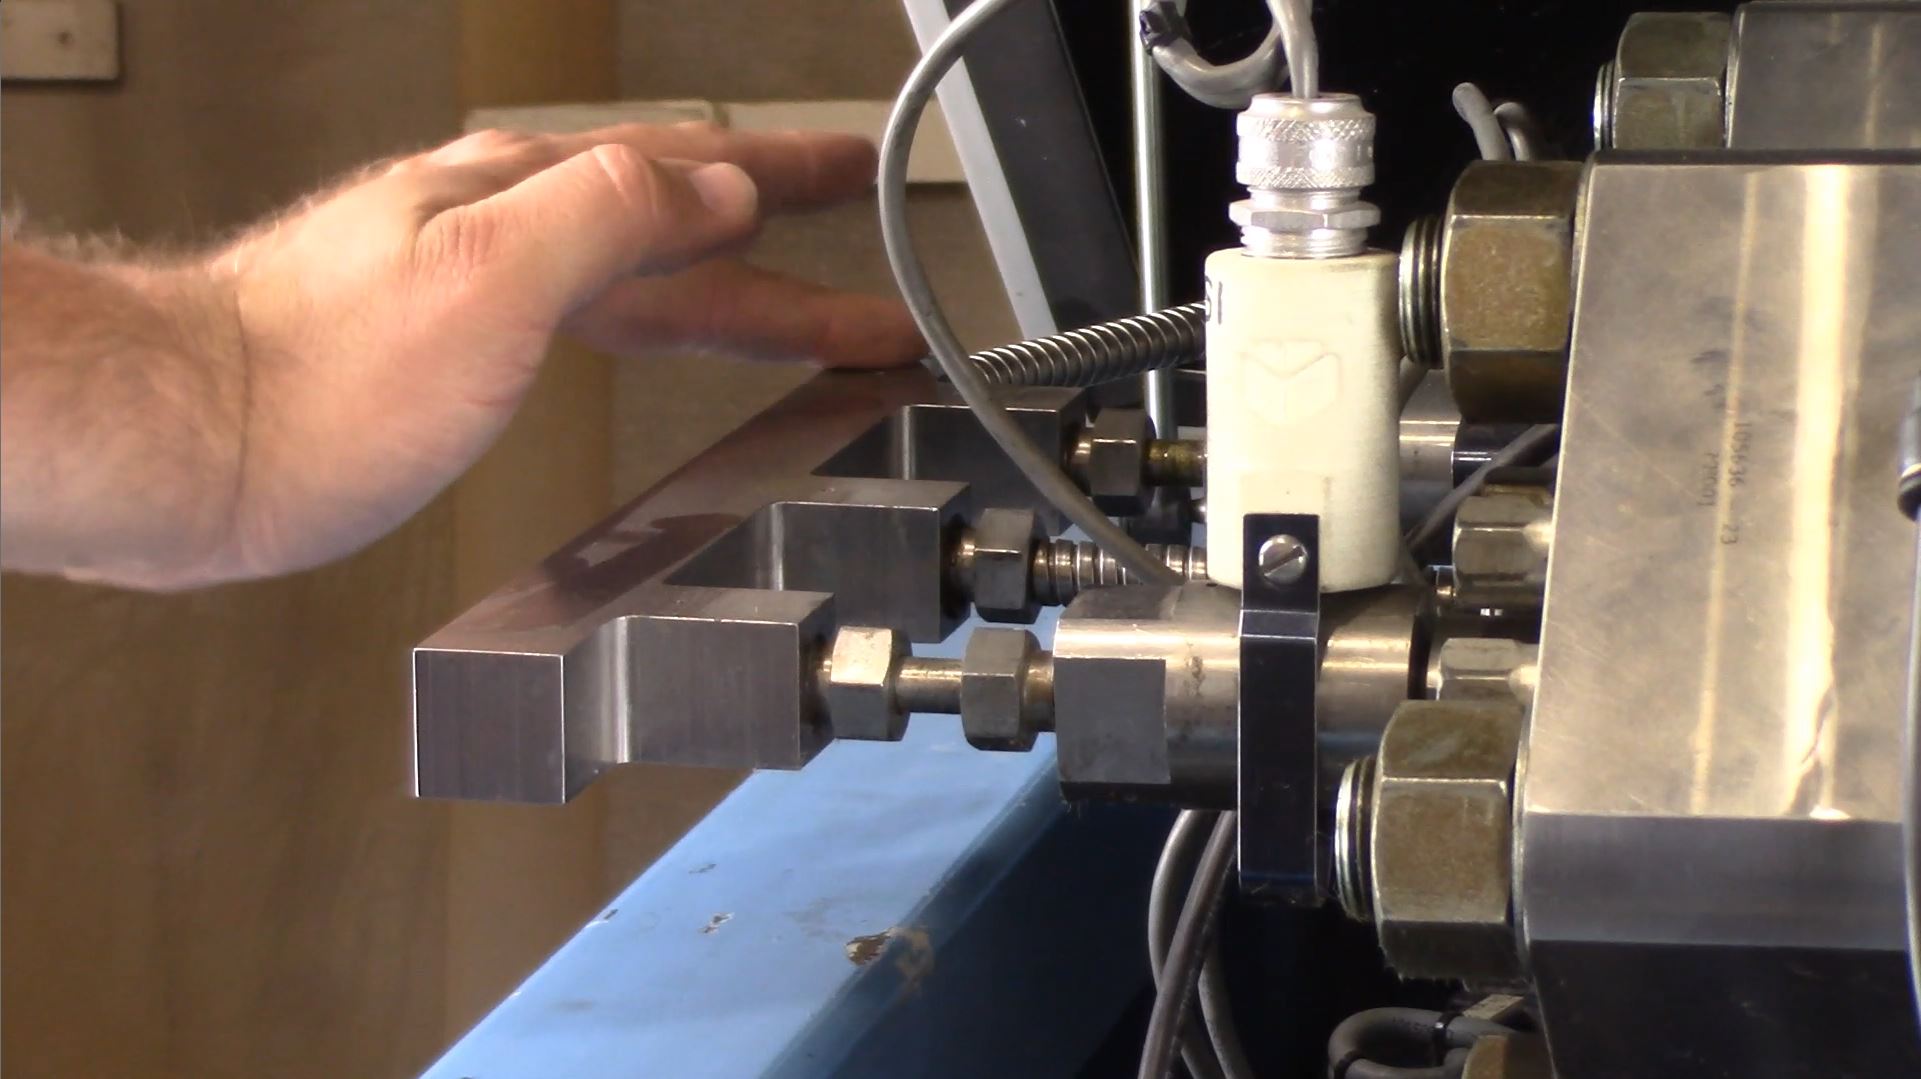
Check out the full video guide to changing and/or repairing your high pressure seal by clicking the video below:
What is a High Pressure Seal?
A high-pressure seal in a water jet intensifier pump is a seal that allows the plunger to create pressure and keep that pressure sealed during cuts. Over time, these seals will wear leading to leaks and a loss of ultra-high pressure in the system.
This wear can reduce performance of the system as a whole and can result in failure of the whole system during use.
How Do I Know When My High-Pressure Seal Needs to be Repaired and/or Replaced?
There are two main ways to diagnose a failing high-pressure water seal.
- When water is flowing into the drain container
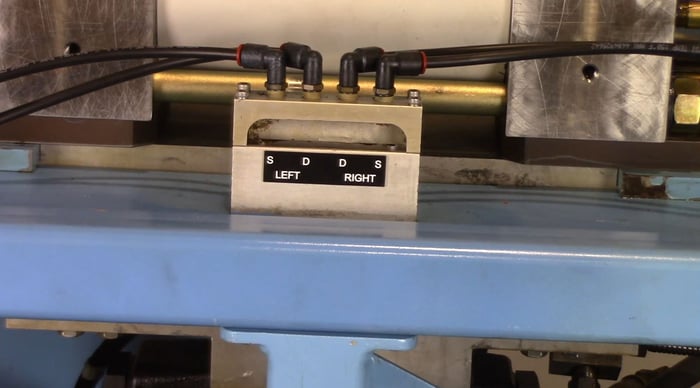
- Water is flowing in the leak detection block
If you’re experiencing these symptoms, it is most likely time to change your high-pressure water seals.
The High-Pressure Seal Repair Process
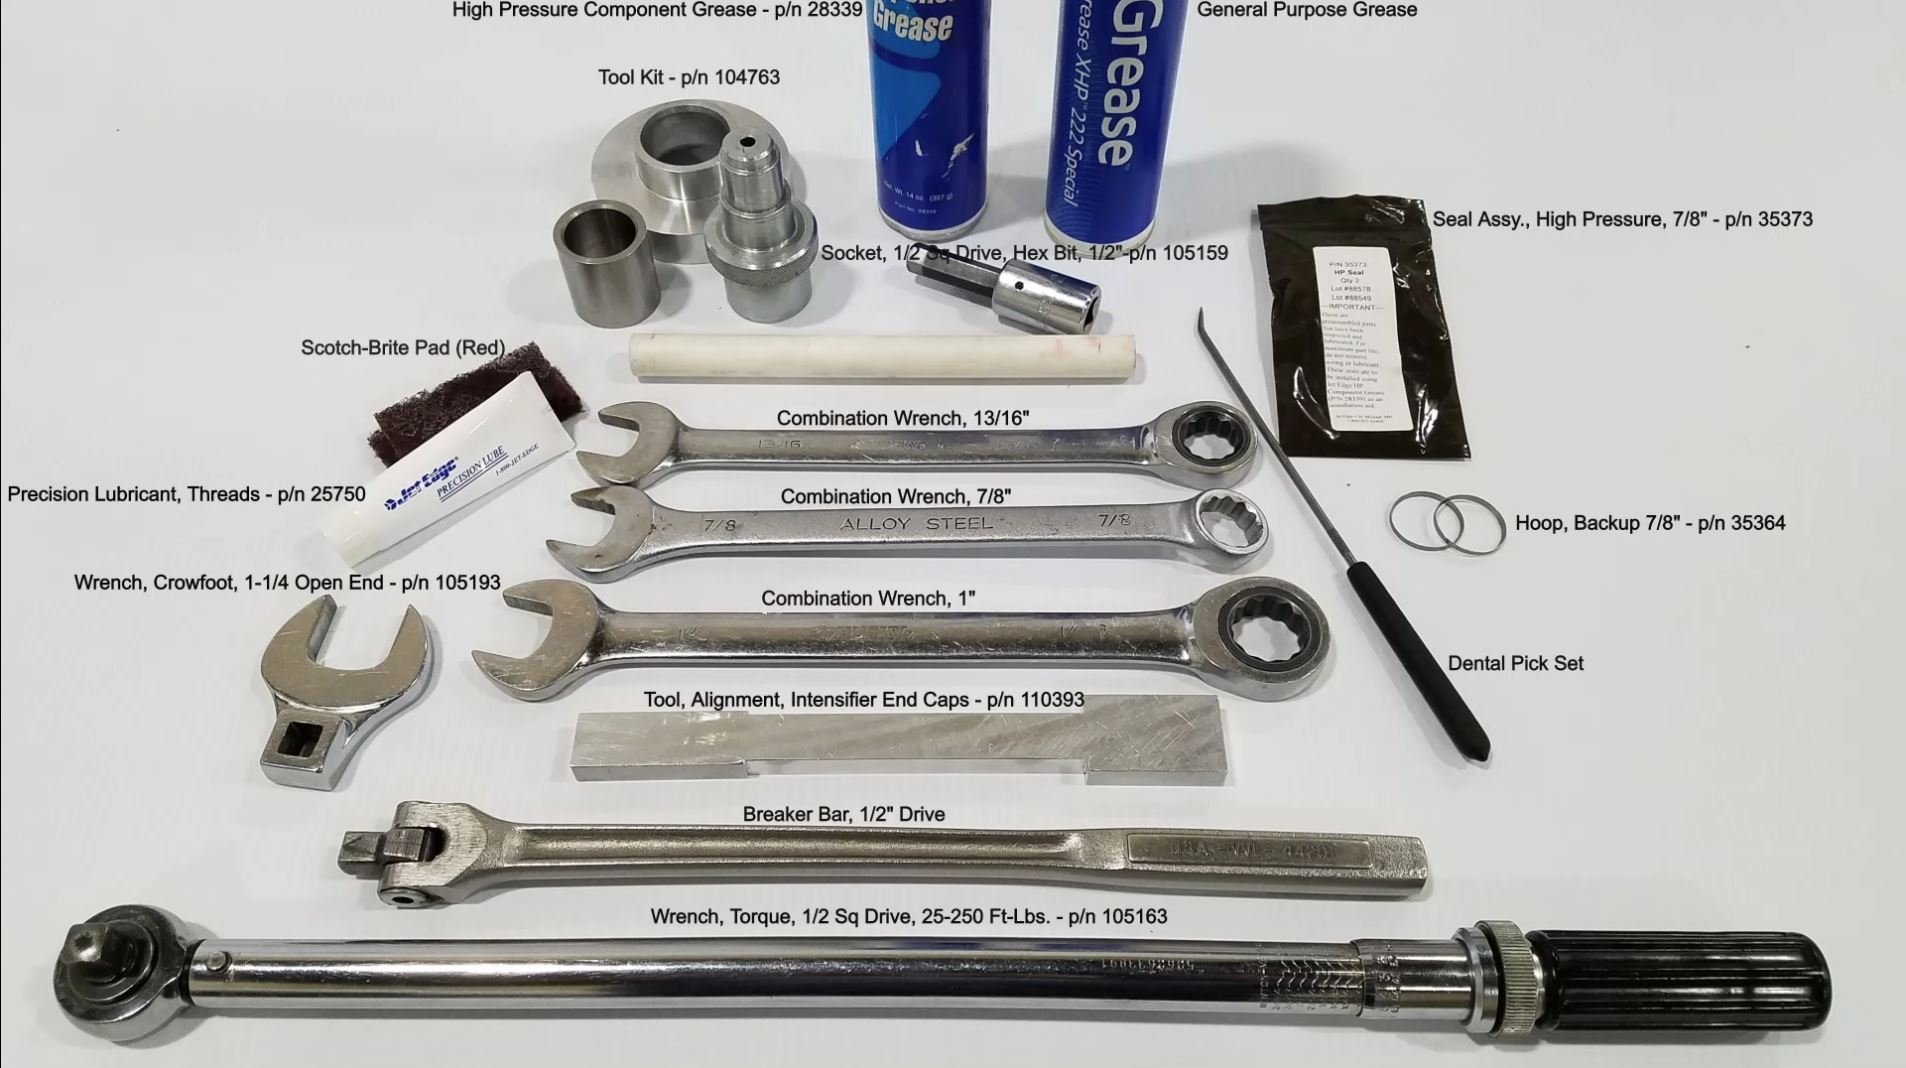
You’ll need a few tools and parts to complete this repair. Here is the list of those parts/tools and their corresponding part #’s in the Jet Edge catalog:
- High pressure component grease #28339
- General purpose grease
- Tool kit #104763
- Socket ½ Sq Drive, Hex bit, 1/2” # 105159
- Seal assy., high pressure, 7/8” #35373
- Scotch-Brite Pad (red)
- 13/16” combination wrench
- 7/8” combination wrench
- 1” combination wrench
- Precision lubricant, threads #25750
- Crowfoot wrench, 1-1/4 open end #105193
- Hoop, backup 7/8” #35364
- Dental pick set
- Alignment too, intensifier end caps #110393
- Breaker bar, ½” drive
- Torque wrench, ½ Sq drive, 25-250 ft-lbs. #105163
Once all the tools are gathered, it is time to start the repair.
Repairing Your High-Pressure Seal
Preparing the Pump
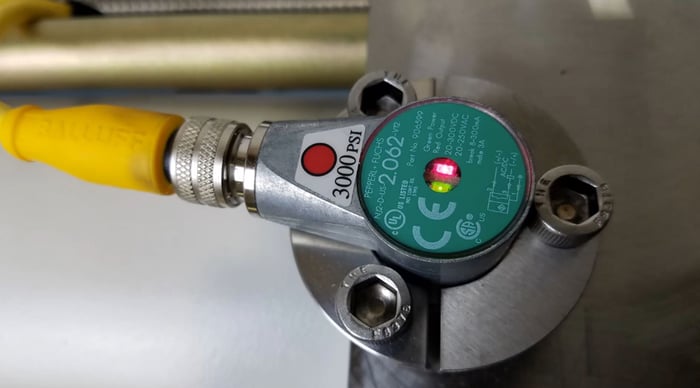
- Note the lights on the proximity switch on the tops of the intensifiers
- You want the red light on the proximity switch on for the side you are going to repair. If on the opposite side, manually shift the directional control valve before proceeding
- You are ready for your repair after the machine has been locked out and the water source has been shut off.
- Make sure you are working in a clean area, and that your hands are free of debris. Any contaminates that make their way into your pump can damage it during use.
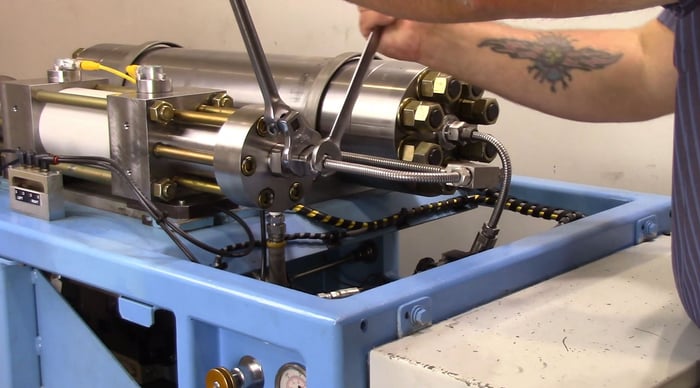
Disassembly
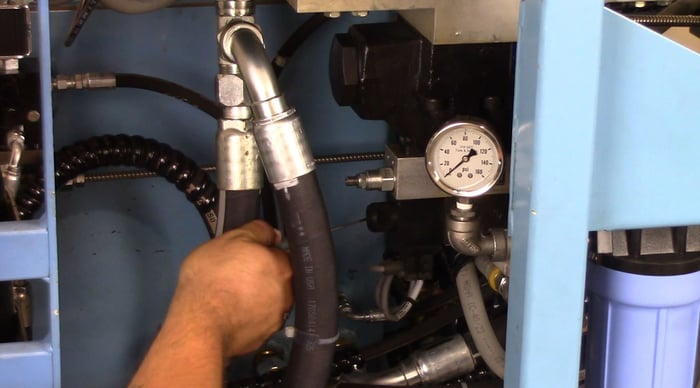
- Manually shift the directional control valve after the machine is powered off to relieve any energy that has been captured in the hydraulic system.
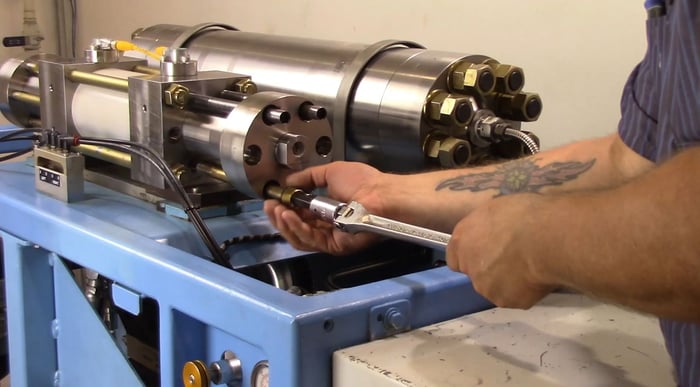
- Disconnect the high-pressure water lines using a 13/16” wrench, a 1” wrench, and a 1 and ¼” wrench for the poppet housing
- Remove tubing and set aside
- Disconnect the water supply tubing from the water inlet connection on the bottom of the end cap using a 7/8” wrench and a 13/16” wrench
- Disconnect the drain tube from the connection on the high-pressure end cap
- Using the 1-1/4” crows foot, remove the poppet body and seat
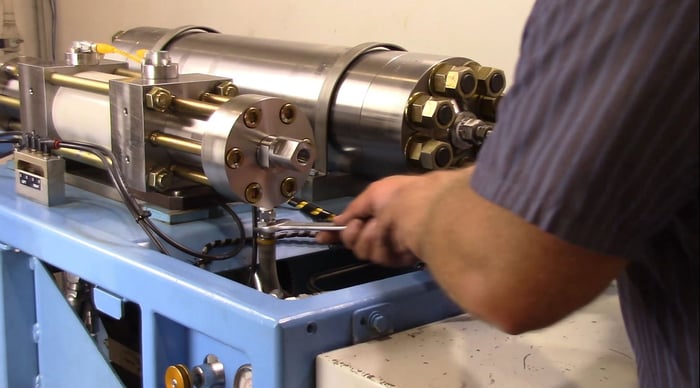
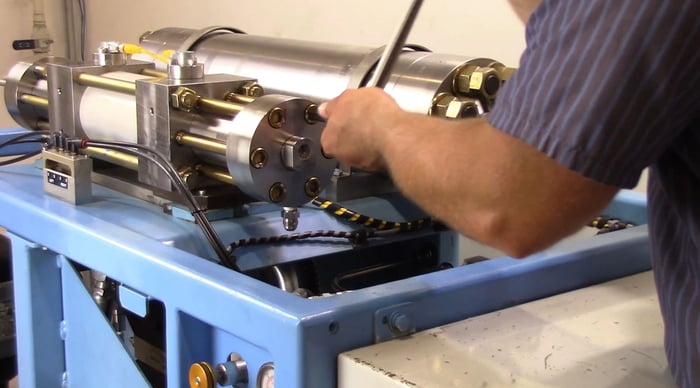
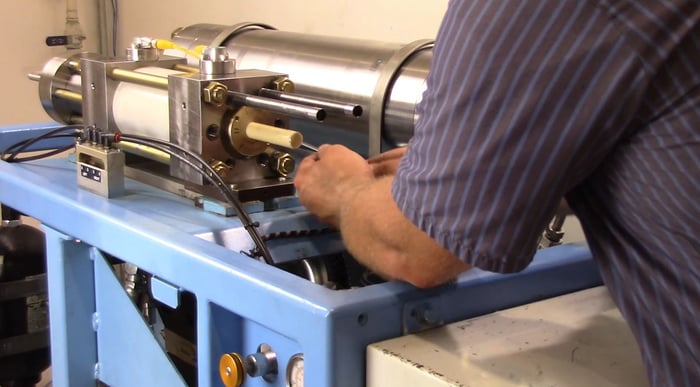
- Loosen the cap screws one quarter turn at a time until the bolts are not in contact with the end cap
- Remove the cap screws and washers from the upper two mounting holes
- Verify the washer is on the end cap screw – if not, remove with a pick or flathead screwdriver
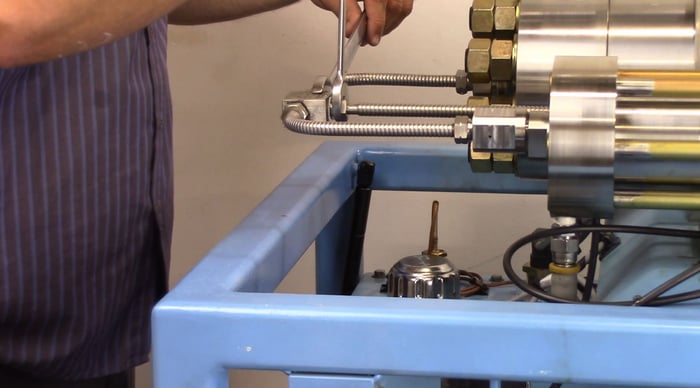
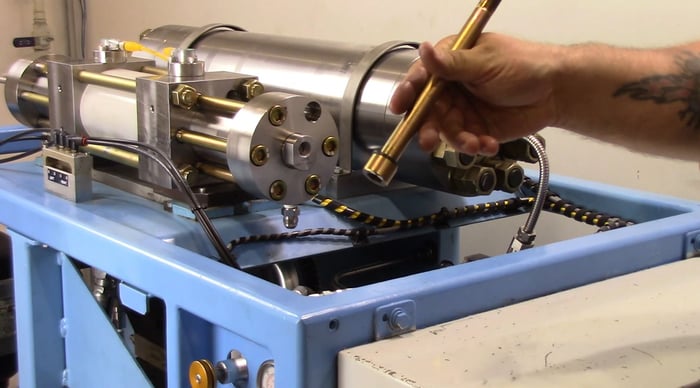
- Install the end cap support studs to support the end cap cylinder assembly
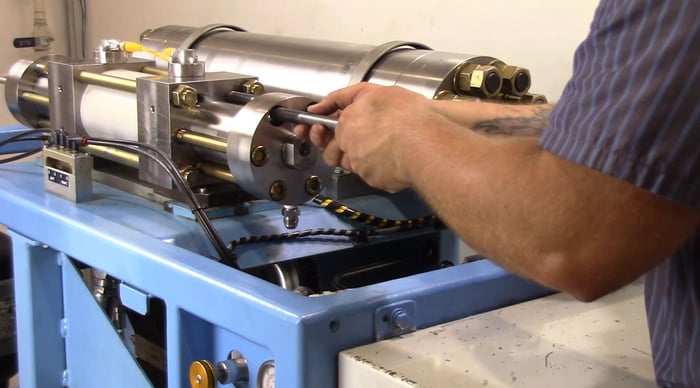
- Remove the remaining cap screws securing the high-pressure endcap
- Remove the high-pressure end cap, and high-pressure cylinder.
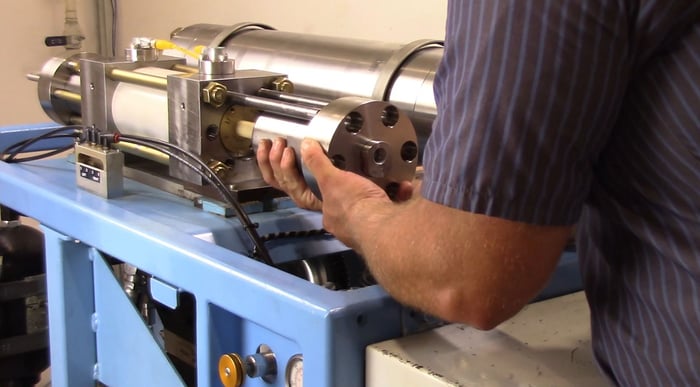
- NOTE, some effort is needed to pull the cylinder off the plunger
- Remove the consumable backup disc from the hydraulic endcap
Cleaning and Seal Change
- Clean and inspect the plunger for damage, and/or material buildup
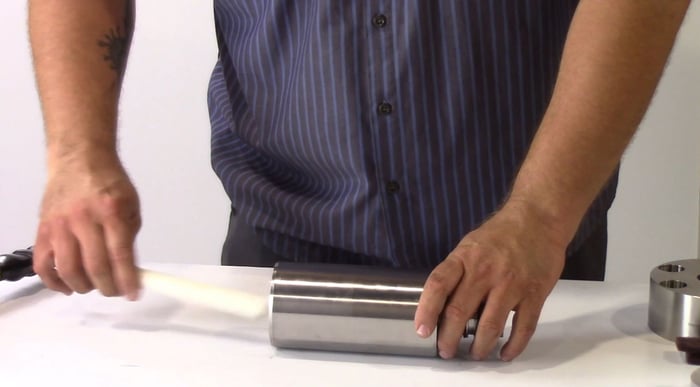
- Remove the high-pressure endcap from the cylinder, and separate the check tube from the cylinder with a plastic dowel, place the high-pressure cylinder on the endcap
- Ensure that the cylinder is centered on the endcap so that the inside diameter of the cylinder is not blocked
- Insert the mandrel tool into the high-pressure cylinder and press down (tap with plastic mallet if necessary) – the spacer tube should push the seal and backup ring out the bottom of the cylinder
- Turn the cylinder over, and use the mandrill tool to push the spacer tube which will push the second high-pressure seal and backup ring out the bottom of the cylinder
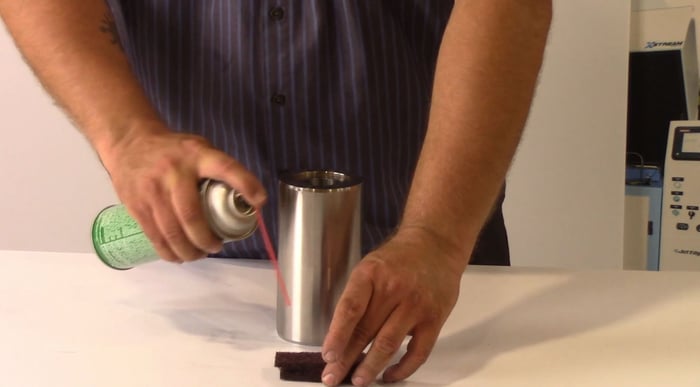
- Clean the high-pressure cylinder with degreaser and scotch-brite
- Clean the inside edge of the high-pressure cylinder bore with a scotch-brite pad, inspect the area for wear or damage. You only need to clean the area where the high-pressure seal contacts
- Clean all parts with cleaner and dry completely. Pull a rag through the spacer tube and bore to clean all debris
- Clean the disc thoroughly with solvent and scotch-brite pad
- NOTE: the consumable backup disc should be changed every other seal change for optimal life
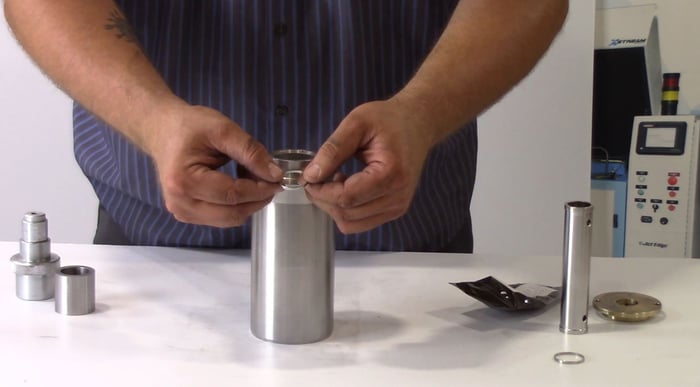
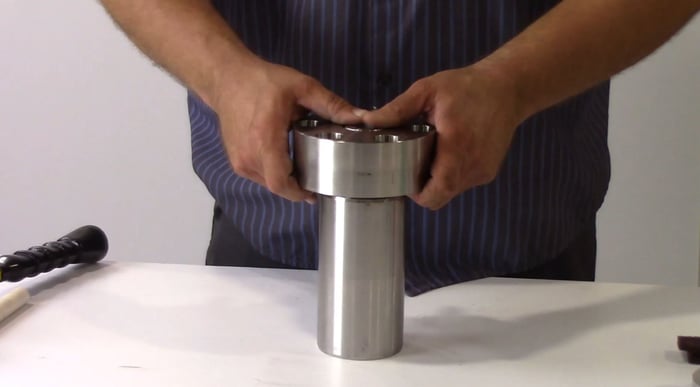
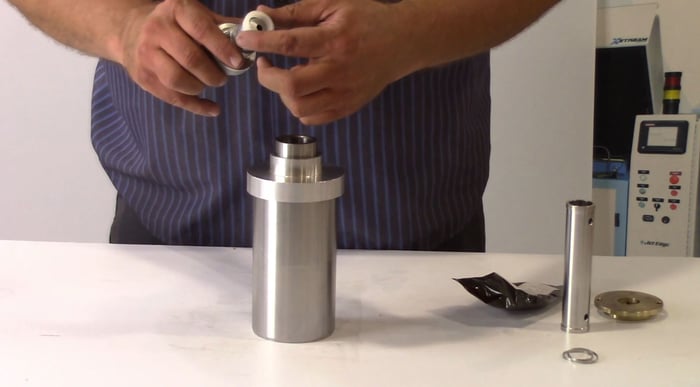
- Starting with the dynamic end (larger counterbore) stand the high-pressure cylinder upright and place the cap tool on top of the cylinder
- The insertion sleeve has an inward taper to compress the seal as it is pressed into the cylinder
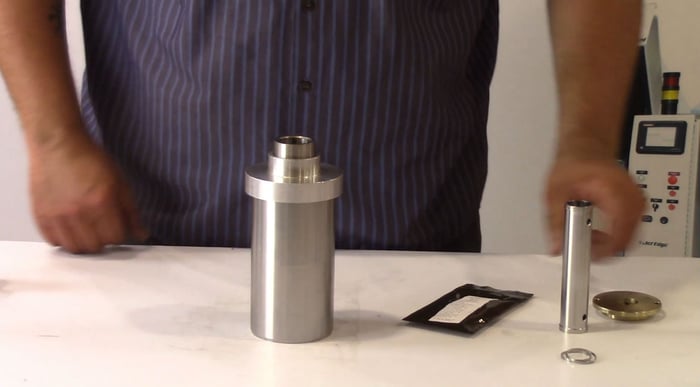
- Slider the insertion sleeve into the cap tool with the larger diameter end facing upward
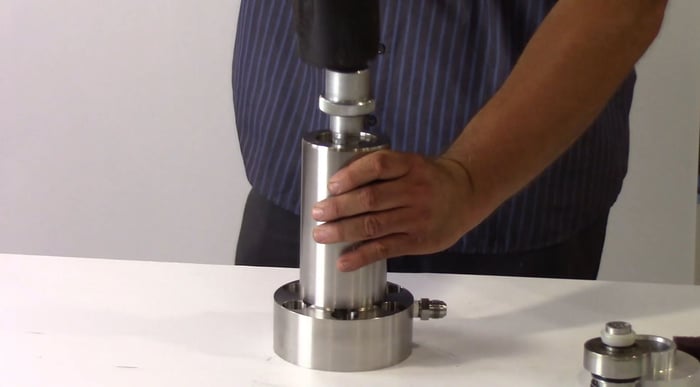
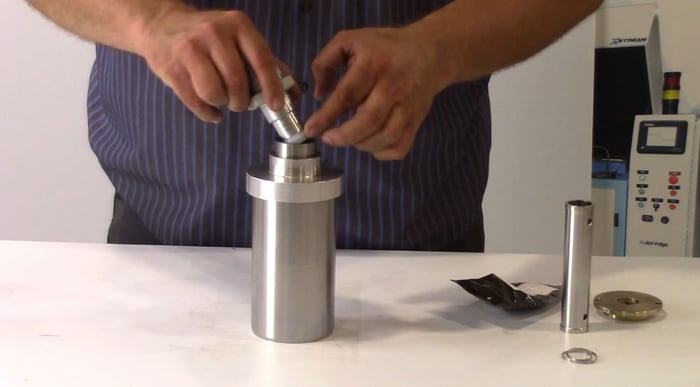
- Use the mandrel to press the high-pressure seal through the insertion sleeve and into the end of the high-pressure cylinder with the O-ring towards the cylinder
- Remove the insertion sleeve from the cap tool
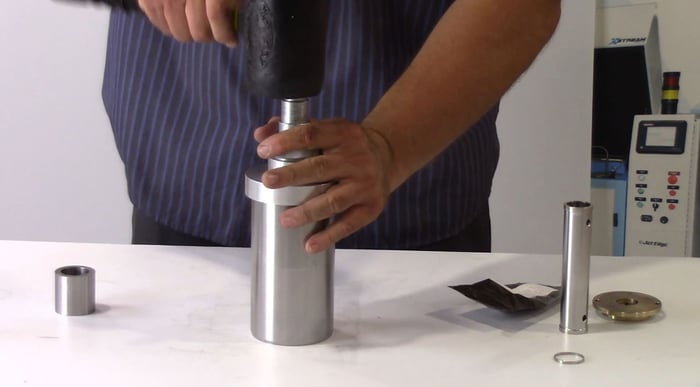
- Align the backup ring with the tapered end towards seal and use the plastic mallet to tap the mandrel and use the mandrel to press the backup ring into place against the high-pressure seal
- NOTE: The inside of the backup ring is tapered. This taper in the backup ring mates with the tapered end in the high-pressure seal
- Seat the consumable backup disc into the bore to support the installed seal
- Turn the cylinder over and install the spacer tube
- Repeat this process for the second high-pressure seal and backup ring in your pump

Assembling the Cylinder
- Insert the check tube into the high-pressure cylinder noting the orientation as these are not bi-directional. Check, inspect and lubricate the tube o-rings
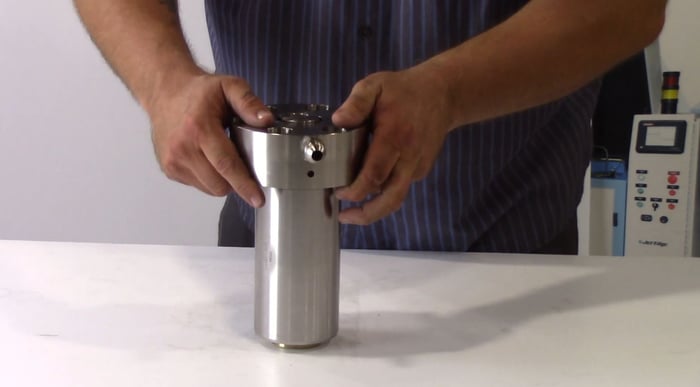
- Place the high-pressure endcap over the cylinder and check tube
- NOTE: The high-pressure endcap has a low-pressure water connection and a weep hole drain connection. Ensure to configure the high-pressure endcap correctly
- Install the brass consumable backup disc on to the intensifier, ensure the correct orientation.
- Reverse the disassembly process to complete the repair
- Notes for Assembly Process.
- Lubricate the cap screw threads with general purpose grease
- Also lubricate both sides of cap screw washers
- Make sure to insert and tighten the end cap screws evenly during assembly by alternating between two at a time
- Remove the support studs ONLY AFTER inserting the end cap screws
- When torqueing the endcaps, start with A sequence at 25 ft-lbs. Then move to 50 ft-lbs. using the B sequence. Then adjust to 75 ft-lbs and use the A sequence. Finally, adjust to 90 ft-lbs and follow the B sequence
- Use the alignment tool to verify the endcap is torqued properly. If there is a gap between the endcap and tool, loosen the endcap and repeat the torque sequence
- With the seat installed on the high-pressure pop-it housing, screw it into the end cap and torque it to 45 ft-lbs.
- Notes for Assembly Process.
- You have successfully replaced the high-pressure seals in your pump
The Benefits of Maintaining Your Water Jet Pump
The primary point of all pump maintenance is the high-performance operation of your water jet system. Keeping the pump maintained will allow maximum performance during cuts for the lifetime of your system. High pressure seals maintain system pressure. Any loss of system pressure can have a large impact on the performance of your machine during cuts.
Regular maintenance intervals are key to keeping your machine always running. Downtime is costly, and regular maintenance significantly reduces the total downtime of your cutting system.

Check Out Our Digital Brochure!
Since 1984, Jet Edge has been designing and manufacturing Ultra-High-Pressure Water jet technology that doesn't back down. Our systems are used around the world in a broad range of industries from the world's leading airlines, to automotive, aerospace and industrial manufacturers, and machine job shops.
To learn more about the Jet Edge difference, our water jet motion systems, pumps and much more, click the button "Download Brochure" to get it now!

%20-%20Jet%20Edge%20Waterjets.png "A Blog About our Blog Button (revised) - Jet Edge Waterjets")


