
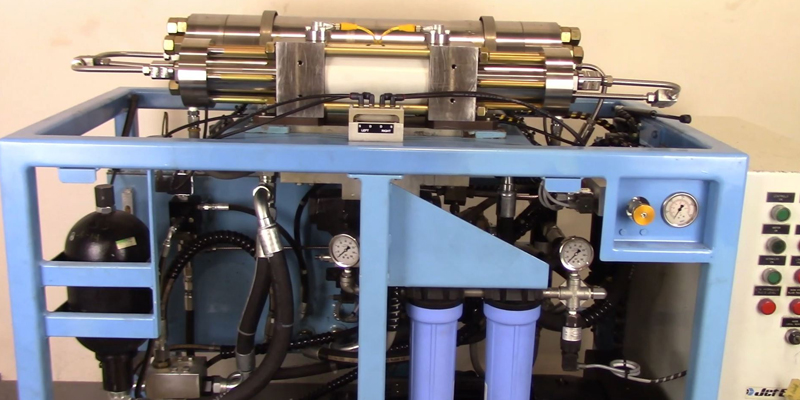
Making an investment in a piece of capital equipment like a water jet machine is just that – an investment. Protecting that investment and maximizing its value over its lifetime is paramount. For your water jet system, the pump is the heart – and its continued maintenance is the key for you getting the most out of your capital investment.
At Jet Edge, a big part of our continuing investment in educating our end users is maintenance training. In part 4 of our maintenance training series, we’ll cover how to flush your high pressure (HP) water system before performing other maintenance on your machine.
Check out the full video guide to flushing your high-pressure water system by clicking the video below:
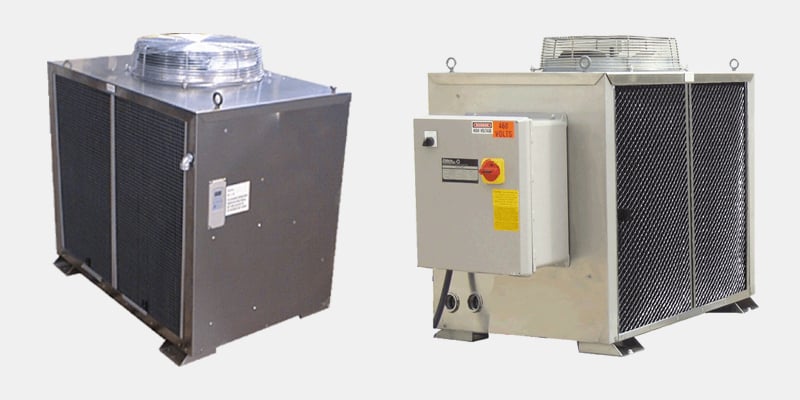
What is the High-Pressure Water System?
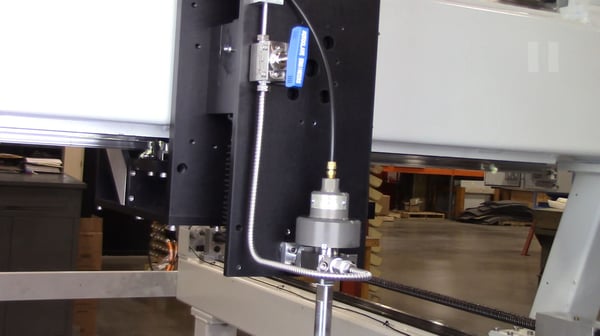
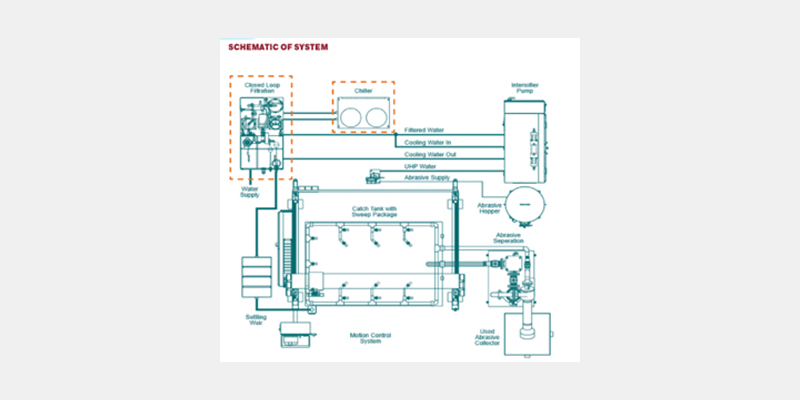
The HP or high-pressure water system refers to the series of components, tubes, and other parts that high-pressure water flows through during the use of the entire system.
When Does the High-Pressure Water System Need to Be Flushed?
The high-pressure water system needs to be flushed when any of the following circumstances occurs:
-
- After changing out the low-pressure water filters
- When any work and/or maintenance is performed on any high-pressure components prior to the orifice in the system
- After changing out the low-pressure water filters

The High-Pressure Seal Repair Process
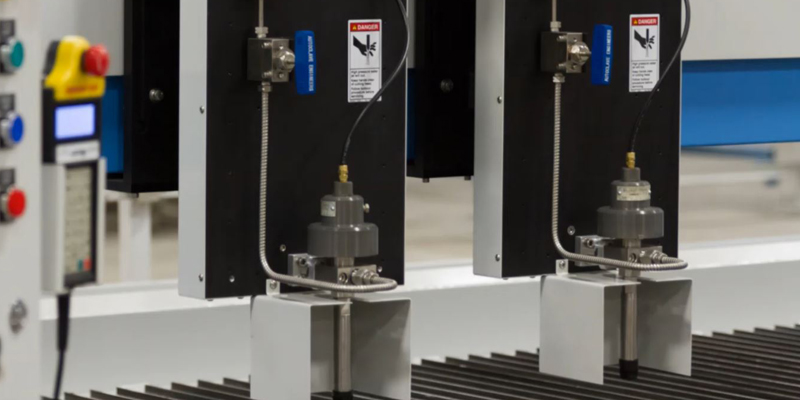
Preparing the Pump
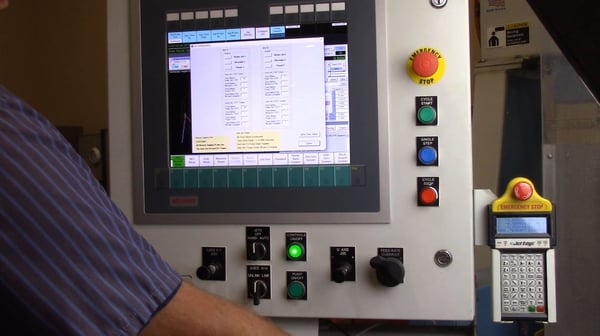
To prep the system, ensure the pump is off and all the high-pressure water is expelled from the system.
Open the cutting head valve after the pump is off to ensure there is no high-pressure water in the system. If there is a hand valve prior to the cutting head, close it.

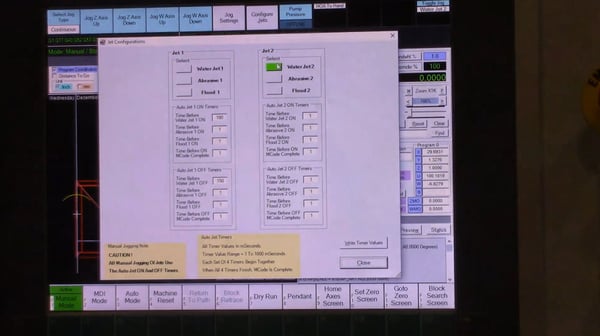
Flushing the System (OmniJet Systems)
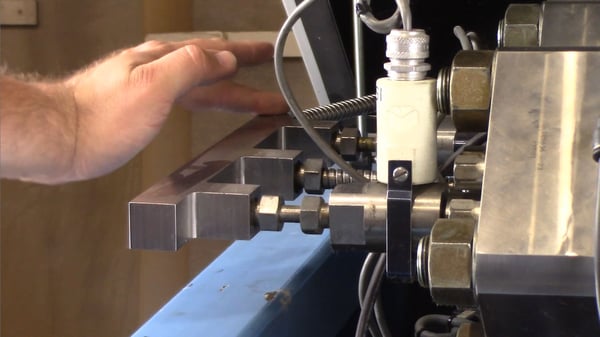
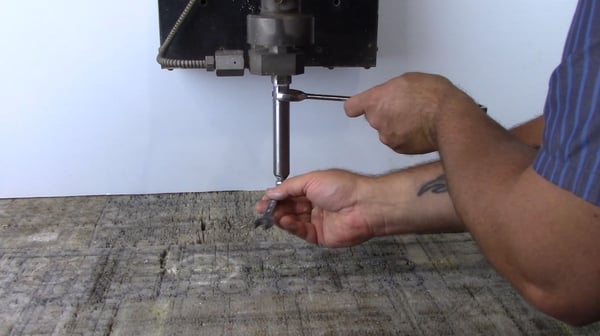
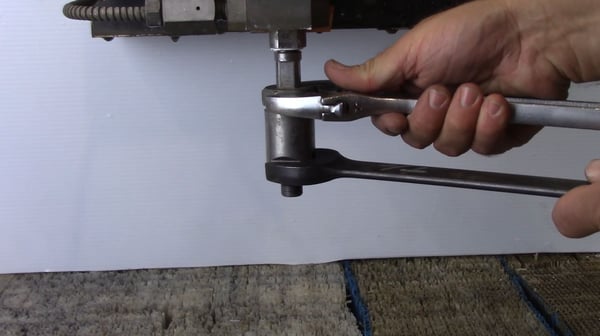
- To flush the system with a water only OmniJet cutting head, start by removing the orifice. Depending on your orifice style, remove it with either a 7/16 fox end wrench or a 7/32 hex key
- Open the hand valve fully if it is not already
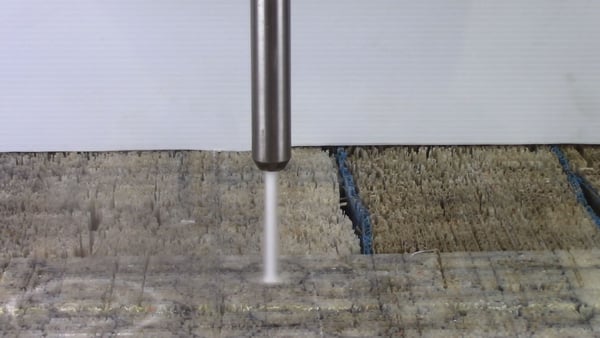
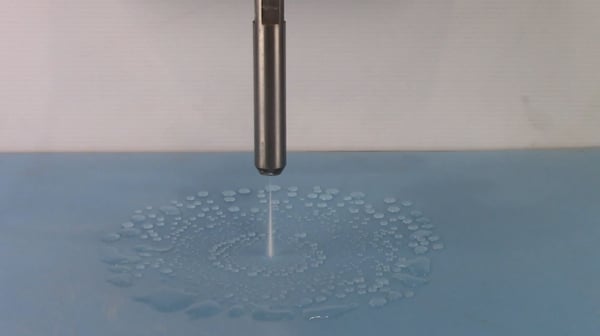
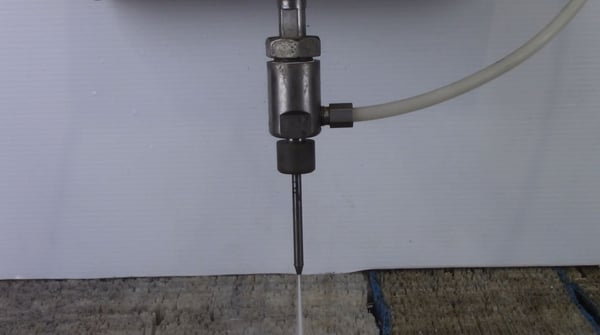
- With the orifice removed, start the motor and the intensifier pump. Leave the intensifier at low pressure and turn on the cutting head.
- Let the machine cycle on low pressure for 10-15 minutes
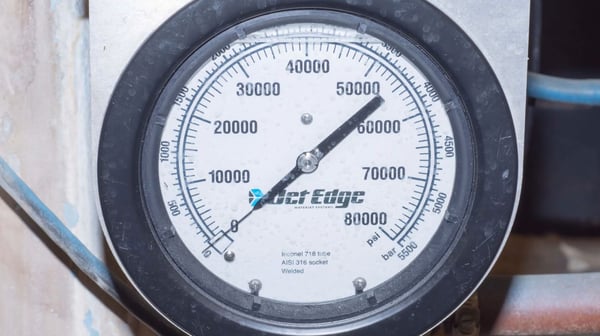
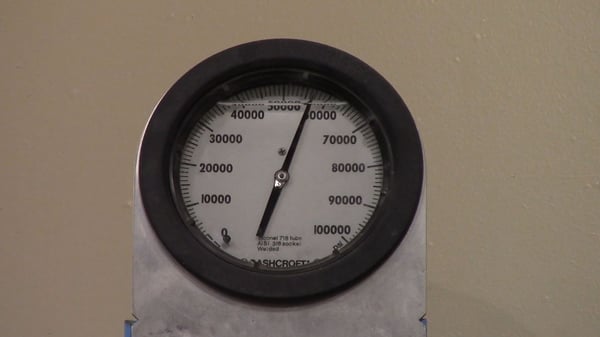
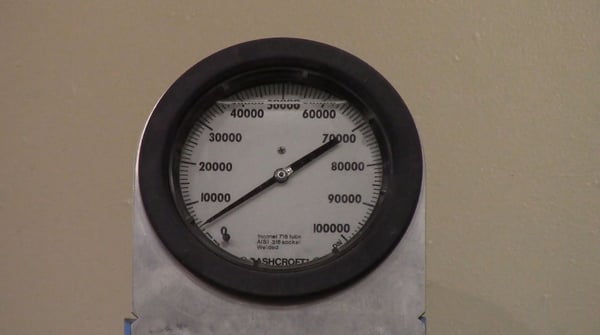
- After continuous running, turn off the cutting head, and build the pressure to maximum.
- Cycle the cutting head on/off rapidly in 2-3 second intervals. If the cutting head is left on too long, an over cycle may occur. Perform 6-8 cycles during this process.
- NOTE: It is common for the high-pressure tubing to get hot during flushing
- NOTE: if your machine is equipped with high pressure whips, you may notice them bouncing more than usual
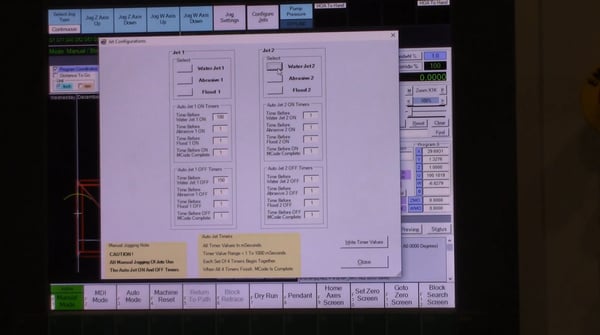
- After cycling, turn off the cutting head and intensifier.
- Turn on the cutting head to ensure there is no remaining pressure
- Now turn off the cutting head. If there is a hand valve prior to the cutting head, turn it off
- Reinstall the orifice in the cutting head by applying precision lubricant to the threads of the orifice and be careful not to get lubricant onto the orifice itself
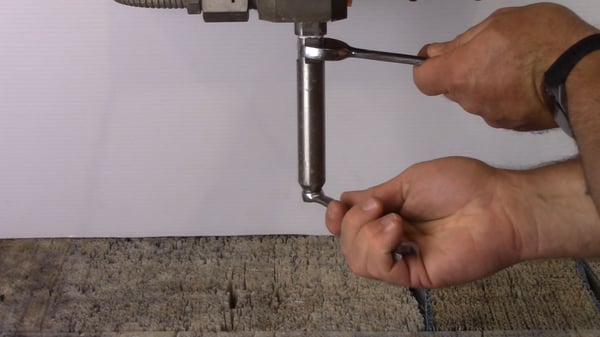
- Using two wrenches (one to hold it in place, and one to tighten), thread the orifice assembly onto the orifice mount
- Open the cutting head and turn on the intensifier to full pressure
- Cycle the jet on/off 6 times to ensure the orifice is seated. If the cutting head leaks water when the cutting head is off, you’ll need to service the needle and seat as some debris may have lodged in the seat during the flushing process. If there is a leak from the threads where the orifice attaches to the mount, you’ll need to reseat the orifice


Additional Steps for Flushing Permalign Systems (Abrasive Systems)
- Spray the cutting head with water and wash off the connection of the high-pressure adapter to the cutting head body and use air to blow it off
- Ensure the pump is off, and all the high-pressure water is expelled from the system. It is best to open the cutting head valve after the pump is off to ensure there is no water in the system
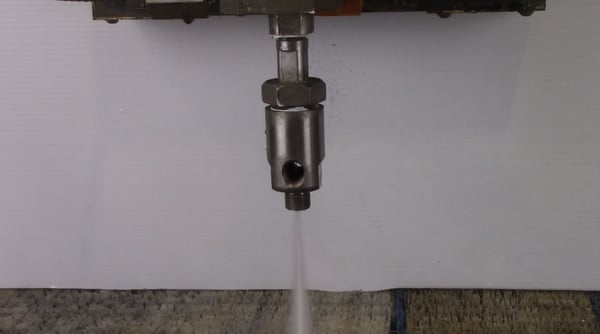
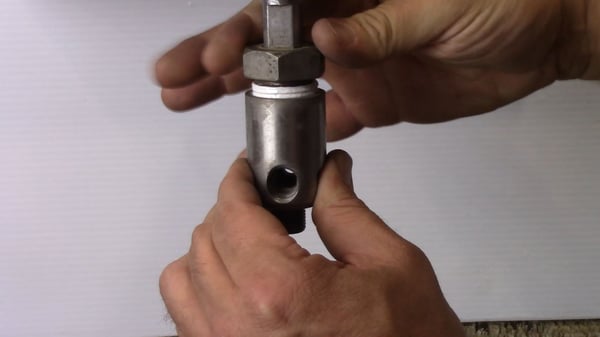
- Remove the nozzle, abrasive tubing, and loosen the abrasive inlet
- Remove the abrasive body from the high-pressure adapter using two wrenches
- Open the hand valve fully if it is not already open
- With the orifice removed, start the motor and the intensifier. Leave the intensifier at low pressure and turn on the cutting head. Let the machine cycle at low pressure for 10-15 minutes.
- After continuous running, turn off the cutting head, and build the pressure to maximum.
- Cycle the cutting head on/off rapidly in 2-3 second intervals. If the cutting head is left on too long, an over cycle may occur. Perform 6-8 cycles during this process
- NOTE: It is common for the high-pressure tubing to get hot during flushing
- NOTE: if your machine is equipped with high pressure whips, you may notice them bouncing more than usual
- After cycling, turn off the cutting head and intensifier.
- Turn on the cutting head to ensure there is no remaining pressure
- Now turn off the cutting head. If there is a hand valve prior to the cutting head, turn it off as well
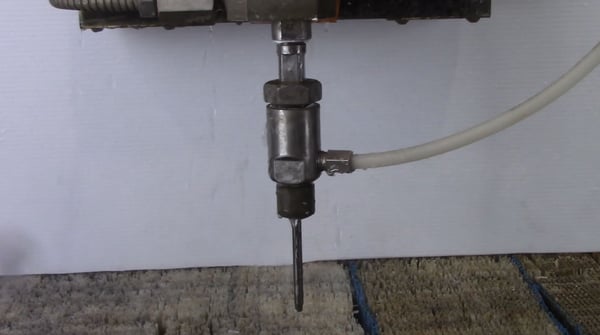
- Reinstall the orifice and the cutting head following our recommended procedure as found in the Permalign tube cutting head rebuild video (click here to view this video)
- Ensure the cutting head is clean and all components are removed from the body.
- Open the hand valve fully
- Open the cutting head
- Turn on the intensifier pump and bring it to full pressure
- Cycle the jet 6 times to ensure the orifice is seated
-
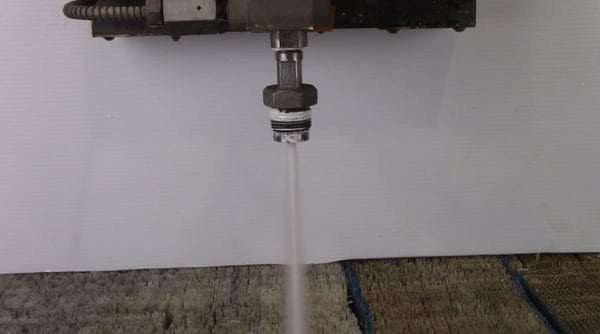
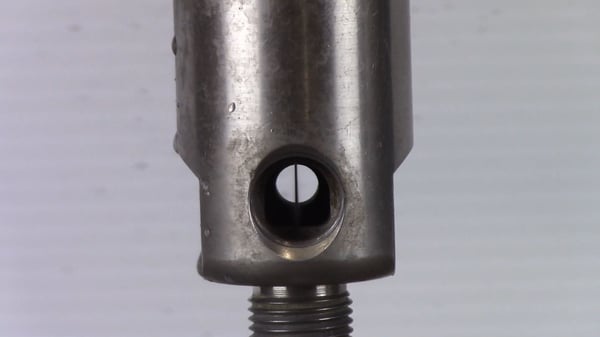
- Check the stream for cohesiveness and straightness by looking through the abrasive body where the mixing chamber is normally.
- The stream should appear to be a piece of fishing line as it enters the top of the mixing chamber and gradually grow bigger as it passes through
- If the cutting head leaks water when the cutting head is off, you’ll need to service the needle and seat as some debris may have lodged in the seat during the flushing process
-
- Prior to reinstalling the Permalign tube component make sure the pump is off and all the high-pressure water is expelled from the system. It is best to open the cutting head valve after the pump is off to ensure there is no more water in the system
- Reassemble the Permalign tube abrasive head
- The machine is now ready for production

The Benefits of Maintaining Your Water Jet Pump
The primary point of all pump maintenance is the high-performance operation of your water jet system. Keeping the pump maintained will allow maximum performance during cuts for the lifetime of your system. Failing to flush your high-pressure water system after changing low-pressure filters and/or before performing maintenance on the HP system can damage your machine and shorten the life of its components.
Regular maintenance intervals are key to keeping your machine always running. Downtime is costly, and regular maintenance significantly reduces the total downtime of your cutting system.

Check Out Our Digital Brochure!
Since 1984, Jet Edge has been designing and manufacturing Ultra-High-Pressure Water jet technology that doesn't back down. Our systems are used around the world in a broad range of industries from the world's leading airlines, to automotive, aerospace and industrial manufacturers, and machine job shops.
To learn more about the Jet Edge difference, our water jet motion systems, pumps and much more, click the button "Download Brochure" to get it now!

%20-%20Jet%20Edge%20Waterjets.png "A Blog About our Blog Button (revised) - Jet Edge Waterjets")


